Inspecting the Gear You Use on Every Dog Walk
Examine the parts that hold tension, touch the dog and open or close before returning walking equipment to its hook.
7 min read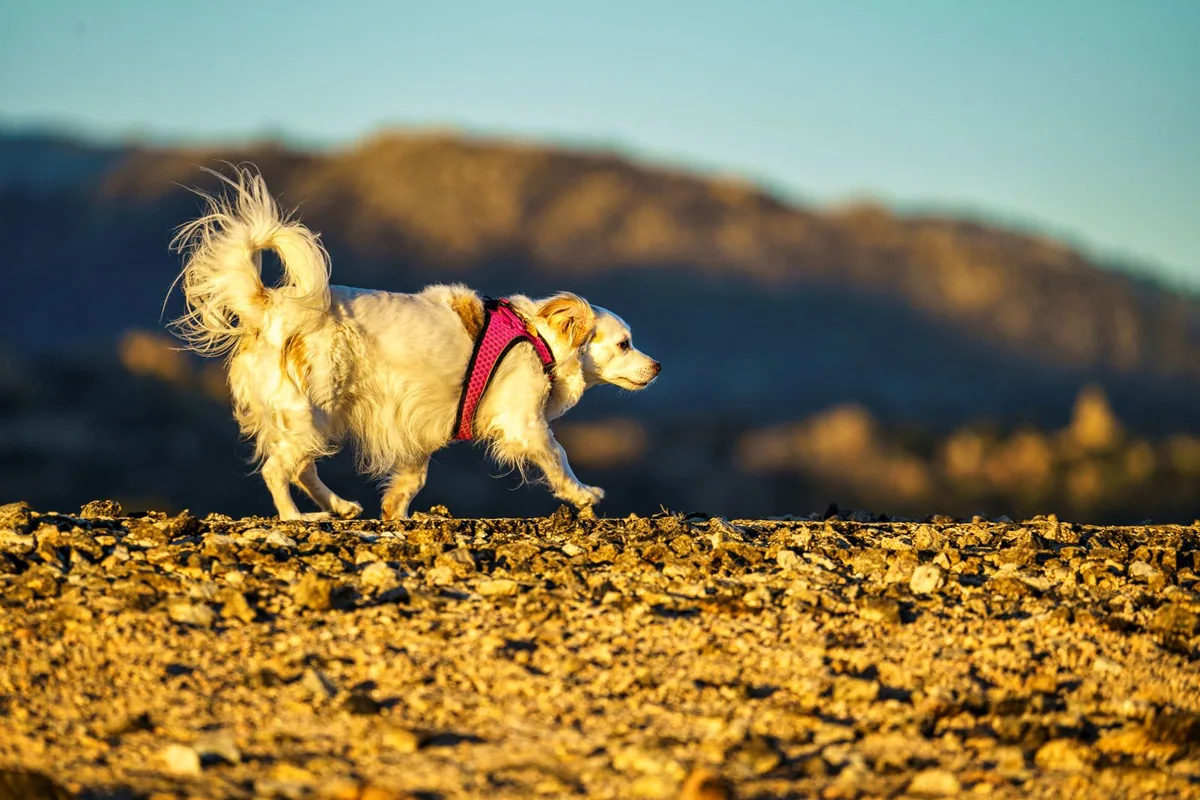
A lead spends much of its life folded on a hook, where the part under the bend is hard to see. A harness comes off at the front door and can be put away while the straps are twisted or wet. These are ordinary objects that deserve a brief, deliberate inspection. Spread the equipment out in good light when the dog is settled somewhere secure. Look at the pieces that connect together, the parts that hold tension and the surfaces that touch the animal. Follow the instructions for the exact equipment you use.
Follow the lead from hand to clip
Begin at the handle and run your eyes along the full length. Look at both faces of a flat strap and all sides of a round one. A dark color can conceal small changes when the lead is bunched up. Lay it straight on a table and note abrasions, chew marks, thinned areas, cut threads or cracks. Look more closely where the same section rubs against a ring or folds during storage. Do not put damaged load-bearing gear back into use. Check the maker's advice about replacing the item or its approved parts.
Examine the handle and the seams or fittings that join it to the rest of the lead. A loop may look intact from the front while the stitching on the other side is worn. If the lead has an extra handle or a second attachment point, inspect those joins separately. Pay attention to what the manufacturer says about the intended use of each part. Some rings exist for light accessories. A convenient spot for a bag holder should not be assumed to carry the force a walking attachment has to handle.
Where a clip is fitted, look for debris and visible damage at the moving parts. Open and close it without the dog attached and confirm that the gate returns fully to its normal position. A clip that sticks, feels loose or stays partly open after release calls for attention before it is used. Clean it only as directed by the manufacturer and replace or seek advice about it if the problem remains. A stronger pull is a poor way to check an uncertain clip when an animal is on the other end.
Trace the harness in the order you put it on
Lay the harness on the floor in the position it normally takes on the dog. Follow the straps from the chest and neck areas to the back and sides. Inspect places under adjustment sliders, the sewn sections that hold rings and any fabric that covers a join. Check whether loose strap ends can be managed the way the manufacturer shows. A missing keeper may allow an end to flap or snag even though the buckle still opens normally.
Try each fastening while the gear is off the dog. Align and close it as the directions show, then confirm that it is fully engaged and opens as intended. Look at release tabs for cracks and dirt. Check paired pieces as a pair, especially if you have more than one harness of a similar design. Parts that appear to fit can have different shapes or tolerances. Avoid substituting pieces from other models unless the maker confirms compatibility.
Check fit on a calm dog in a secure space using the product's guidance. Compare the positions of the adjustment points with where they were when you set it up. A growing dog or a change in coat can alter fit, as can a strap that slipped during cleaning. Look at the dog walking a few comfortable steps rather than relying only on a standing view. If the equipment rubs, rotates or interferes with normal motion, ask for advice about fit and choose an appropriate alternative before a walk.
Look at the smallest connector too
A spare lead, long line or connector may be used less often and stored in a bag with grit from the last trip. Pull it out completely and look at the ends. Inspect any joining rings and fasteners for wear, corrosion, sharp edges or deformation. Follow the product's rules about attaching it to a suitable fitting. Equipment intended for an ordinary walk can have limits that make it unsuitable for other purposes. Keep the instructions accessible for the pieces whose use you find less obvious.
Remove detachable accessories while you inspect the main gear. A waste bag holder or light might hide a rubbed section or cause a clip to sit awkwardly. Once the equipment is sound, replace accessories in the positions intended for them. Avoid crowding the primary attachment point with loose items. If the lead has a locking connector, check the full locking and unlocking action as described by its maker. A glance at the handle does not tell you whether a gate has returned to the correct position.
Consider a two-dog outing separately. Lay out each set and verify which lead and harness are used together. Mark the hook rather than altering the load-bearing gear. A similar model in two sizes can make a hurried swap look plausible. If you lend a set to somebody who walks a dog occasionally, show them the proper attachment and how to check that all fastenings are closed. Give them an alternative route to call for help if anything appears wrong at the door.
Put cleaning and drying before storage
Check the care labels after a sandy or muddy outing. Grit can lodge around moving parts and in seams. Use the manufacturer's cleaning method for each material. Dry the pieces as directed before folding them away. Look at the part that spent the walk in contact with the dog's coat, where mud and moisture can stay hidden from view. Avoid improvised treatments or heat that could damage materials, and keep cleaning products away from pets.
Give the gear an inspection point as well as a storage hook. A washable surface near good light makes it easier to spread out an entire lead. The wet rack should be far enough from spare equipment to let you know which set is available to use. Put aside anything under question in a place others will recognize. A label saying "retired" or "awaiting manufacturer advice" is more reliable than expecting everybody to remember a conversation about a frayed seam.
A few checks make sense every time you leave: correct gear for the dog, closures fully engaged, suitable attachment point and sound condition. Use a more deliberate inspection after an unusual event or when cleaning. If gear was chewed, jammed in a door, subjected to a strong pull or left wet, inspect it before use and seek the maker's guidance where appropriate. Do not assume that ordinary use tomorrow will reveal a problem safely.
Check the set after a gear change
Changing one piece can move the load or contact to a different spot. With a new lead, compare its connector to the attachment point on the harness according to both products' instructions. The connector needs room to close and move the way it is designed to. With a new harness, check that the fit suits the dog and that the leash attaches to a point intended for that use. A new part with a similar appearance can make you miss a difference in how the equipment was meant to fit together.
Make the first walk with a new setup familiar and brief after confirming the equipment is appropriate. When you come back, look at the contact areas and note whether a strap shifted. Put any old gear that is still sound in the spare location instead of mixing the two sets on one hook. That helps the next person see which pieces were checked together and which adjustments still need confirming.
Make a small decision about each set
Lay the items out in three places while you work. One is for gear ready for its intended use. One is for items awaiting cleaning or an approved adjustment. One is for anything removed from use. The positions can be as simple as three spots on the table, provided you move the last group somewhere it cannot be picked up for the next walk. Keep an approved suitable spare for the most frequently used set if that fits your situation. A spare that fits another dog should remain on the other dog's hook.
Take a picture of a label or model marking if the maker recommends keeping the information. That helps when asking for replacement instructions or comparing the matching fitting. Attach the date to an inspection note only if a note helps you follow a regular schedule. For many homes, a check built into washing day and a brief look at the hardware by the door are enough to keep the habit manageable.
Do one full pass with the next person who walks the dog. Ask them to point out how the lead connects and which adjustment needs to sit where. Let them practice on the unoccupied gear, then check the fit in a secure area when the dog is comfortable. If you both see the same things, the gear can go back on its hooks in usable order. The next walk starts with equipment you know how to check, and with the questionable pieces out of the way.